It’s been a very long time since we wrote anything on our blog page – but we felt that the latest developments in Badger Cottage were blogworthy (even if Marie’s photography skills have let the side down a little!!). Inspired by our good friends at Wombled Wonders in Brighton, we decided to do some wombling of our own in the cottage. Just as the wombles said ‘pick up the pieces and make them into something new’ – our winter renovation of the cottage has involved mostly paint, wax and the tool box – only buying new where the old was totally unrepairable. We’re really pleased with the result – a sparkly fresh cottage with a new and more up-to-date look.
We started by painting the walls with eco paints – and we also painted the main living room wall a nice earthy green using clay paint. The large gilt-framed mirror was then painted with Annie Sloane paint to give it a completely new look:

wall painted with Earthborn clay paint and mirror frame painted with Annie Sloane chalk paint
Then we looked at the furniture. We’ve been meaning to fix up the nest of tables for some time – but upon inspection we realised they had become too wobbly for wood glue to suffice. Not wanting to discard them, though, we thought we’d try drilling and screwing instead. We filled the screw holes and then painted the legs of the tables, finishing with a nice coat of wax all over. Two of the chairs in the kitchen were also a bit wobbly and bedraggled looking. Upon turning the chairs over, however, we discovered they were easily mended and once they were nice and rigid again we gave them a two coats of Annie Sloane paint and a coat of wax. We think you’ll agree they look a lot nicer than before:
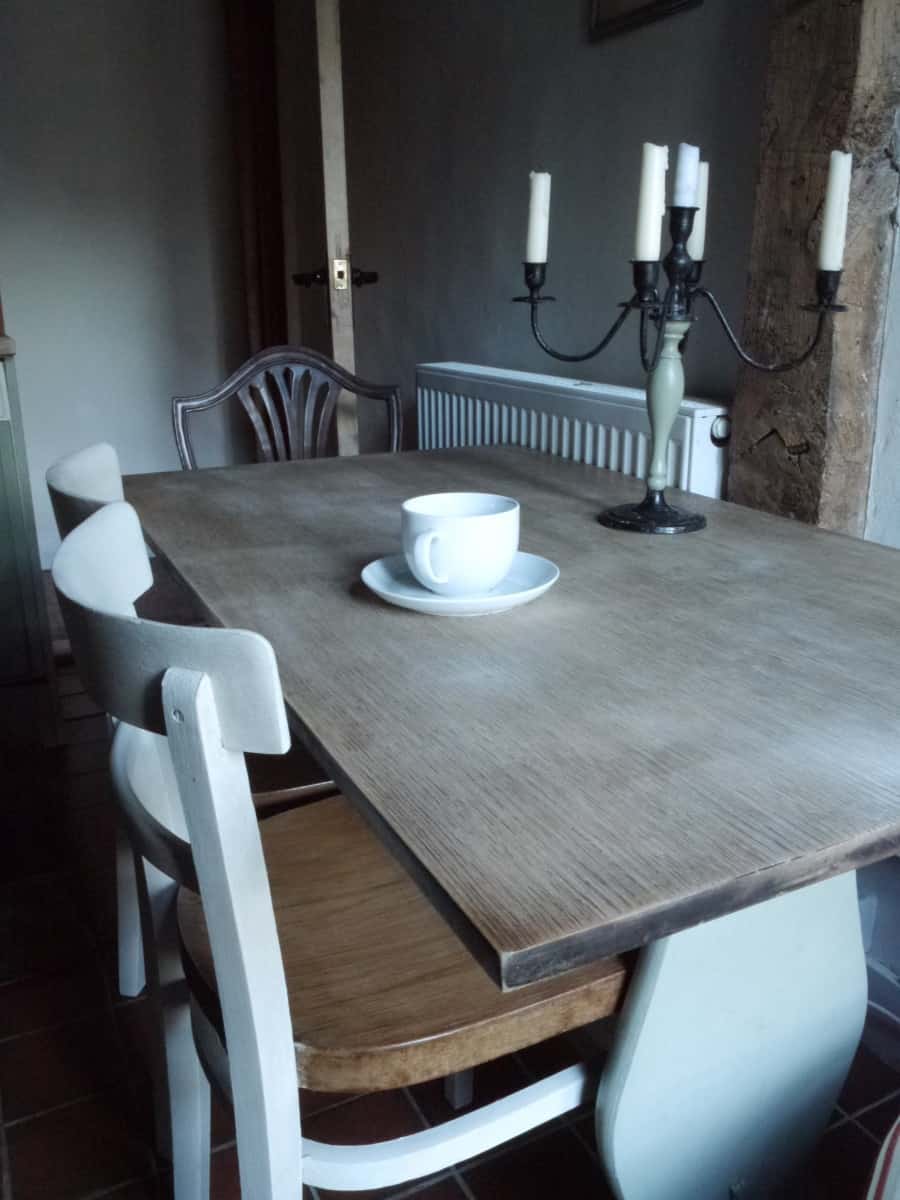
kitchen chairs repaired and given a coat of Annie Sloane paint followed by a coat of wax
The bathroom washstand was given the same treatment – two coats of paint and a coat of wax – but whilst we were working in the bathroom we noticed that the shower curtains & roman blind were looking a bit tired. We had some fabric left over from making the living room curtains so we re-covered the roman blind with this, and added new shower curtains and lovely new shower curtain rings. The mirror and picture frames were also given a coat of paint. All in all – a lovely new look for the bathroom!

the new look bathroom
Back in the kitchen, we toyed with the idea of sanding the tired looking kitchen cupboards and re-varnishing them – the doors are made from lovely solid oak but being 2nd hand when we installed them they were starting to look a bit bedraggled. Instead of re-varnishing we decided to go for a whole new clean look. The pictures unfortunately don’t do the kitchen justice – but the green Annie Sloane paint looks wonderful on the doors (we mixed Olive with Old White to get a pale olive colour) and we have given the cupboards two coats of varnish to protect them. The red rug no longer looked right so we bought a new green one to compliment the new colour scheme.

here you can see before and after painting – as you can see where the varnish had come away the wood had started to blacken from splashes of water
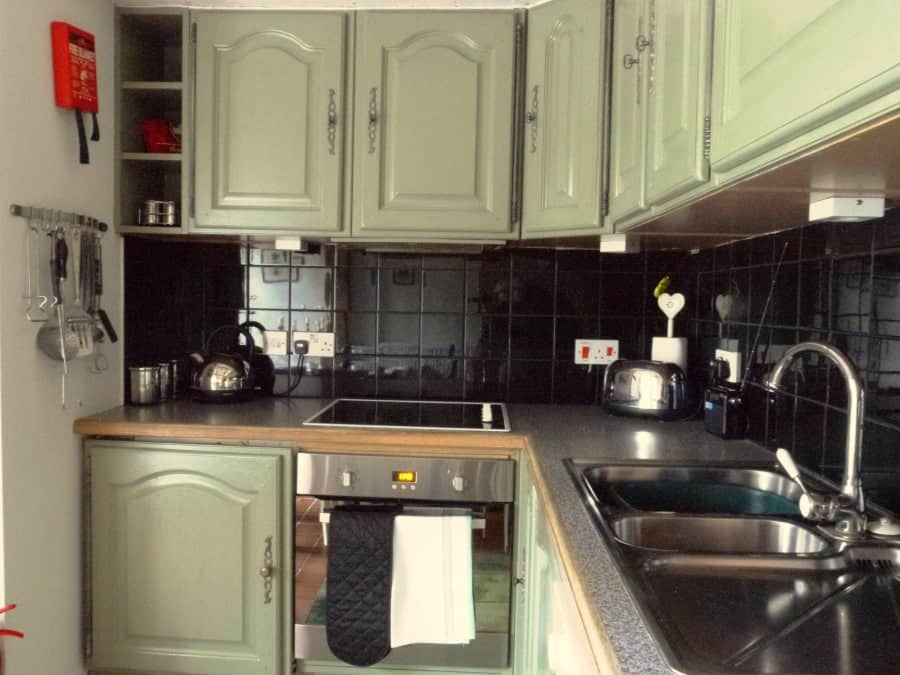
the newly painted cupboards look clean and bright
The last improvement we made to the cottage is something we’ve been meaning to do for 3 years!! In December 2011 we had a central heating system fitted – which is run from the wood-fired range in the pub. This new change meant that the hole in the top of the dividing wall – which was put in to allow heat from the woodburner to circulate throughout the cottage – was now redundant. Despite this, the hole remained – and many guests commented on how handy it is to hear whether children are asleep or to comfort them if they wake. Recently, however, two couples shared the cottage and mentioned the fact that the little hole did compromise privacy to some extent – so we thought it was about time we did something about it! But it took some puzzling out – as we didn’t want to fill it in completely now that some of our regulars have got used to this feature. We tried a thick lined piece of curtain – but upon testing it out we realised it didn’t keep much sound out. Instead we came up with a small wooden door – which can be closed using a string secured in the master bedroom. This new setup gives guests the choice whether to have the hatch open or closed – for reasons of privacy or heat/fresh air distribution. We’ve also added a little friend to the hatch area – you can’t quite see him in the photo below but guests might notice him when staying. I’m saying no more except that he was made for us by a good friend who helped us convert the cottage way back in 2010 – you’ll just have to come and see for yourself!!
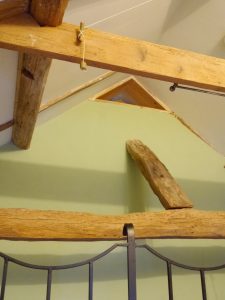
the new closing door for the central hatch – adding extra privacy when required